
|
It is currently Tue Apr 23, 2024 10:17 am |
|
All times are UTC - 8 hours |
 |
|
|
Page 4 of 31 |
[ 454 posts ] | Go to page Previous 1, 2, 3, 4, 5, 6, 7 ... 31 Next |
| Print view | Previous topic | Next topic |
1926 Model TT Restoration: Engine/Trans Rebuild
| Author | Message |
|---|---|
|
Site Supporter   Location: Tacoma Joined: Sat May 4, 2013 Posts: 6216 |
RocketScott wrote: For sure, I'd love to come over and see it Maybe tomorrow if you're going to be around, I have to go work on a boat in Seattle today Sent you a PM Scott If any of you wagunnrrs want to take a look at the truck, just send me a pm! |
| Sat Mar 02, 2019 8:17 am |
|
 Location: Try-Citys Joined: Sat Sep 28, 2013 Posts: 87 |
Nice writeup. I am following closely. I have it’s little bro. 26 T RPU that’s been in wife’s family since 1940. I woke it up from a 45 year nap last spring.
 |
| Sat Mar 02, 2019 12:06 pm |
|
|
Site Supporter Location: Tacoma Joined: Sat May 4, 2013 Posts: 6216 |
lightning wrote: Nice writeup. I am following closely. I have it’s little bro. 26 T RPU that’s been in wife’s family since 1940. I woke it up from a 45 year nap last spring. That is super nice! Is it a standard 2 speed? Warford? Ruckstell axle? |
| Sat Mar 02, 2019 12:34 pm |
|
|
Site Supporter Location: Snohomish Co Joined: Thu Sep 13, 2018 Posts: 1812 |
Attachment: 21752559_1571854262877295_6512720930089565517_o.jpg This was an early mock up picture, i'm just finishing exhaust and need to get on to wiring now You do not have the required permissions to view the files attached to this post. |
| Sat Mar 02, 2019 1:05 pm |
|
|
Location: Try-Citys Joined: Sat Sep 28, 2013 Posts: 87 |
Arisaka wrote: lightning wrote: Nice writeup. I am following closely. I have it’s little bro. 26 T RPU that’s been in wife’s family since 1940. I woke it up from a 45 year nap last spring. That is super nice! Is it a standard 2 speed? Warford? Ruckstell axle? Standard 2 speed. Stock except for distributer ignition. Runs great. Food for thought: Mine had a water pump that leaked. Ford never equipped Ts with one. I replaced it with straight inlet pipe as original. I did have to evaporust head, block and radiator to open all the water passages. Hasn’t overheated yet.[emoji1696] |
| Sat Mar 02, 2019 1:13 pm |
|
|
Site Supporter Location: Tacoma Joined: Sat May 4, 2013 Posts: 6216 |
lightning wrote: Arisaka wrote: lightning wrote: Nice writeup. I am following closely. I have it’s little bro. 26 T RPU that’s been in wife’s family since 1940. I woke it up from a 45 year nap last spring. That is super nice! Is it a standard 2 speed? Warford? Ruckstell axle? Standard 2 speed. Stock except for distributer ignition. Runs great. Food for thought: Mine had a water pump that leaked. Ford never equipped Ts with one. I replaced it with straight inlet pipe as original. I did have to evaporust head, block and radiator to open all the water passages. Hasn’t overheated yet.[emoji1696] I’m planning on installing juice brakes. With my warford transmission, if it pops out of gear, there goes your transmission brake. Now you are freewheeling and hoping you are not going down a steep hill. I have Rocky Mountain brakes but they fade and work like crap in the wet. There is still thememergency brake, but that never works great. |
| Sat Mar 02, 2019 4:31 pm |
|
|
Site Supporter Location: Tacoma Joined: Sat May 4, 2013 Posts: 6216 |
Wiring turned out to be a job. Model Ts run on a 6V system, and I needed a new 6V battery and cables as the first order of business.
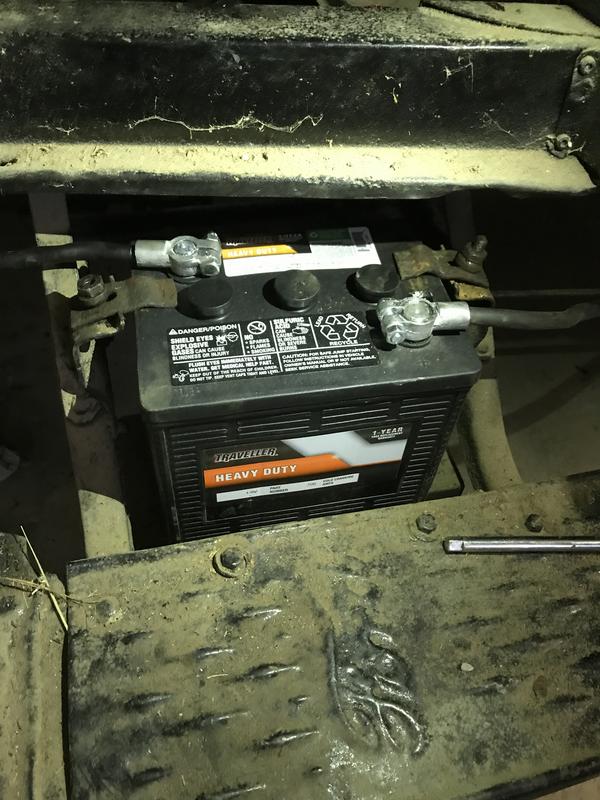 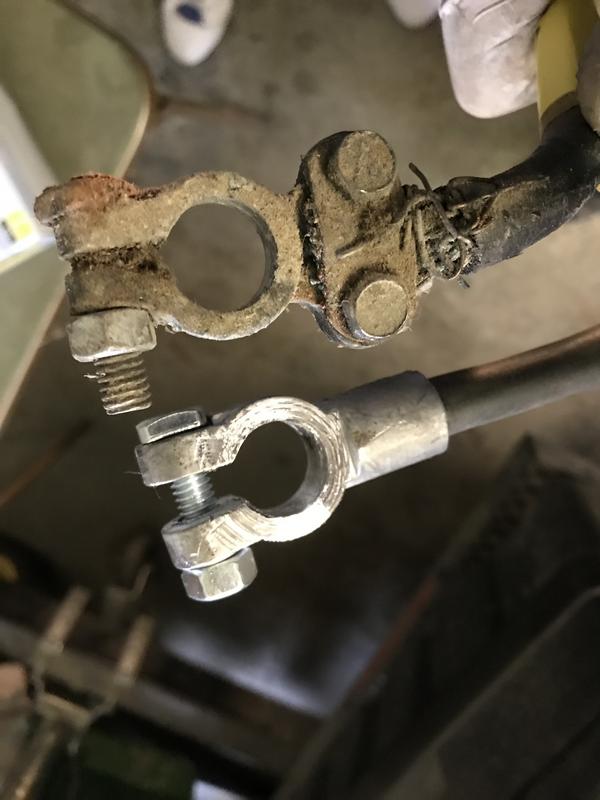 Installed a master disconnect on the battery as Model Ts have been known to burn up due to electrical issues. And they take your garage with them 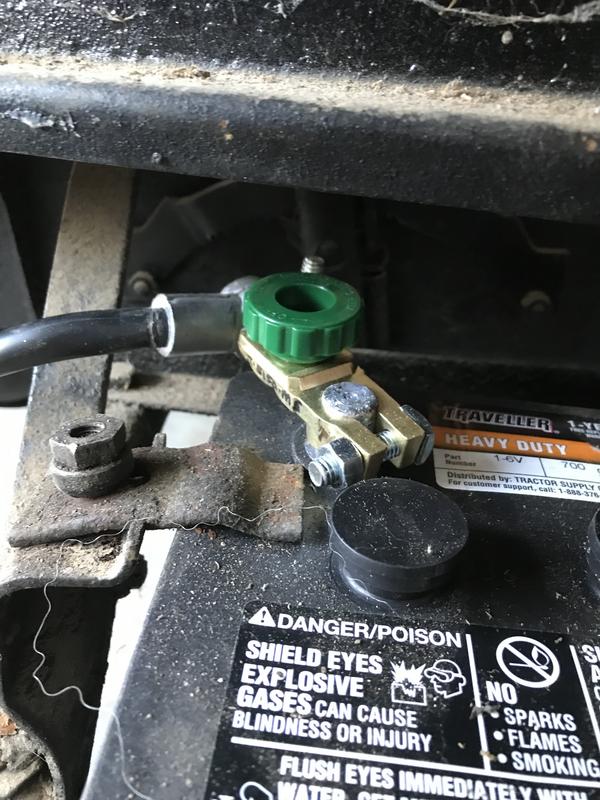 Then I was facing this: 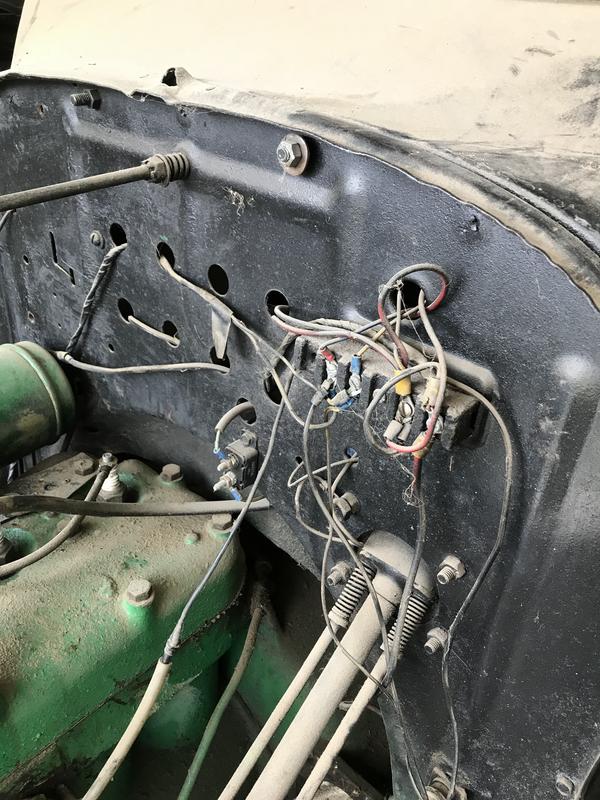   This was a complete tear out and rewire job. Here was step 1: 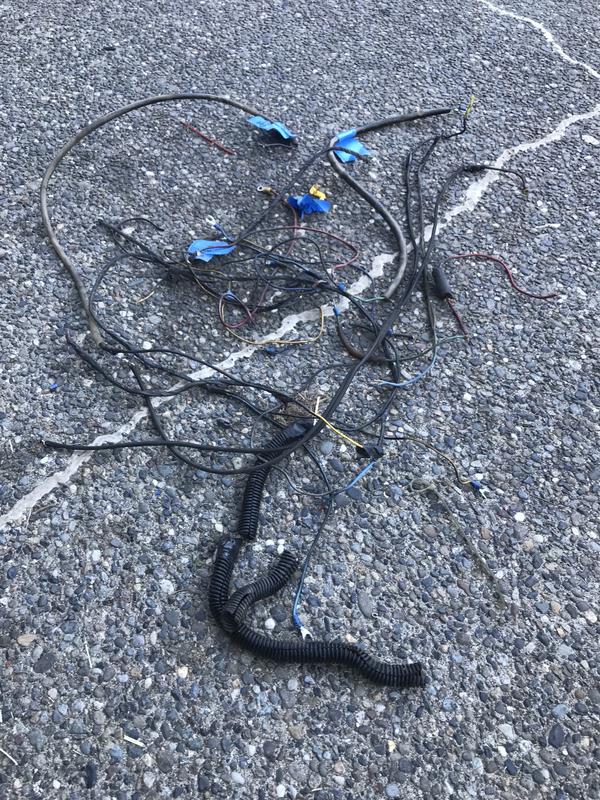 Parts I needed were Model T wire harnesses, terminal block, horn button and wires, and some miscellaneous wire and terminals 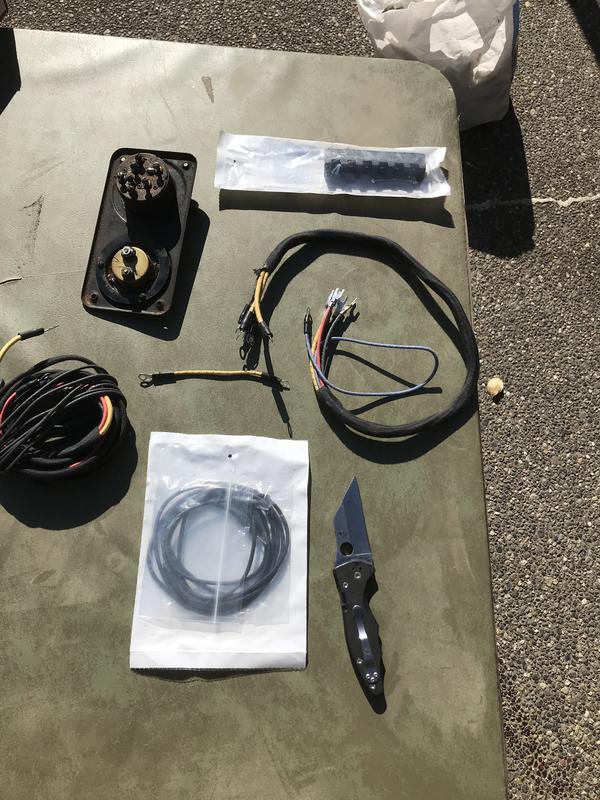 My son came down to help. First we tackled the wiring from the switch plate to the new terminal block, which is mounted on the firewall. Here is my son taking the switch plate off the dash 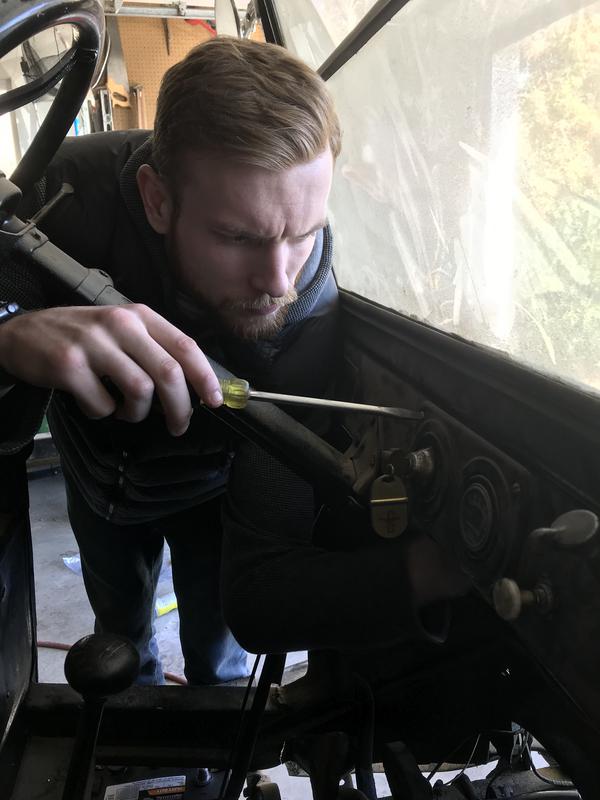 Here is the front and back of the switch plate, showing the switch and ammeter   Interesting switch hardware on the model T. It’s actually two switches in one. The key switches from Off to Battery to Magneto. The outside lever controls the tail lights, and Dim / Bright for the headlights. I won’t be using the magneto, as they will burn up the modern coil system I have.  Here is the switch wired up with the new harness  Next job is to hook up the other end of the harness to the new terminal block  Now for the second harness, which runs from the terminal block to the battery, left side headlight, brake light switch and tail lights. Here it is hooked up  Then the final harness. This harness is set up for the right side headlight, generator cutout, and the original 4-coil setup of a model T. One coil per cylinder. These coils are finicky, so my dad replaced them with a modern distributor and coil ignition system. Here is a pic of a couple original Model T coils 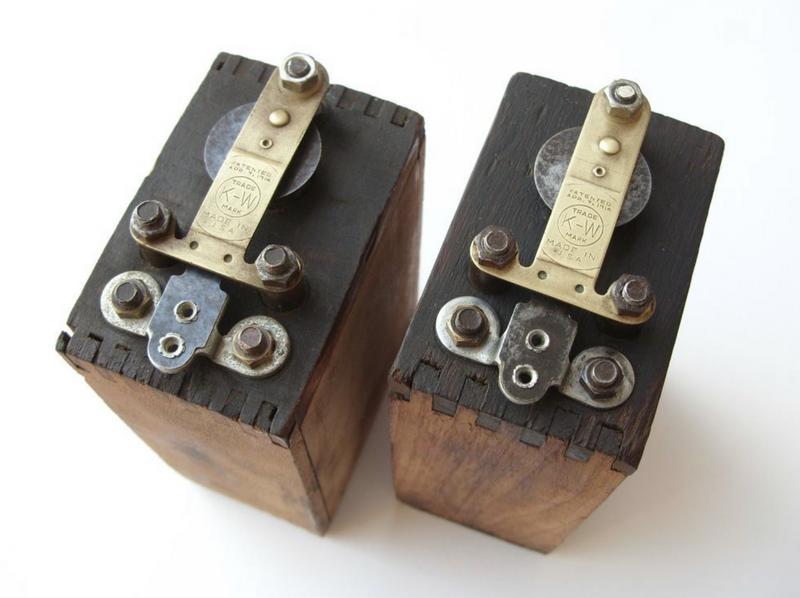 I will only be using the headlight wires and generator wire on this harness. These four coil wires I will tape up out of the way.  Last job in the engine bay is to run the coil and horn wires. Here is that job done  Next job is the stop light switch. The switch is actuated by the brake pedal. When you push down on the brake, the pedal shaft slides outwards a bit, and pushes in the stoplight switch. I found out later that the switch had stuck in the On position and I had to take it apart and fix it. Here are some pics of the switch and before/after pics of the wiring.   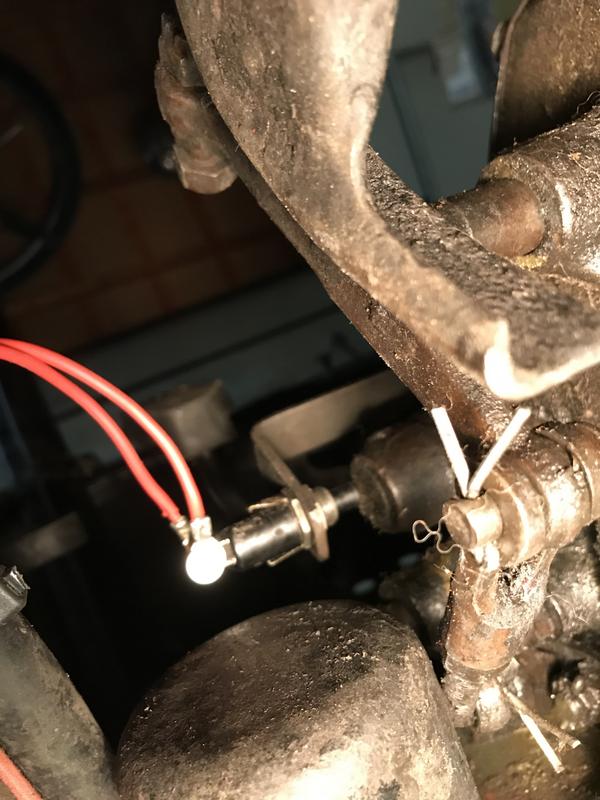 Ran the wire from the terminal block to the battery. This is the main power feed to the car’s electrics, so I put in a modern 20A in-line fuse 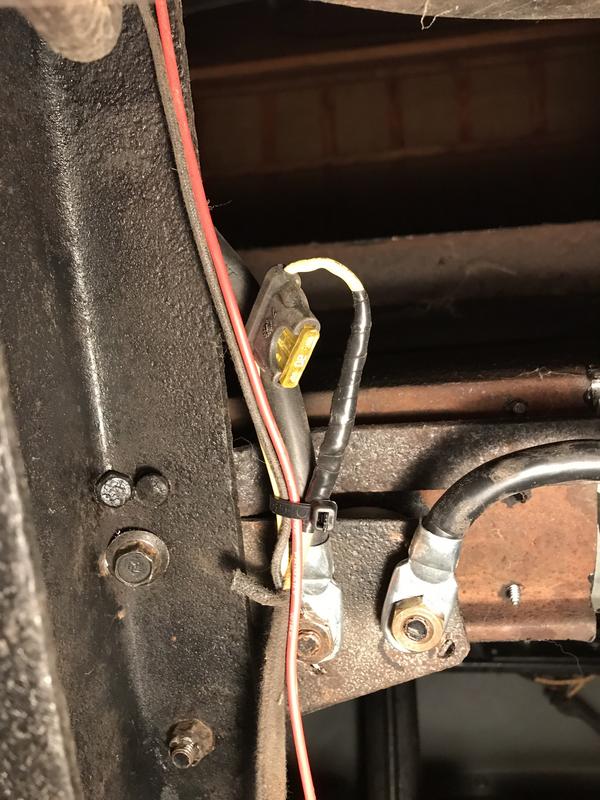 Last job was running wires to the tail lights. Here is what was there. 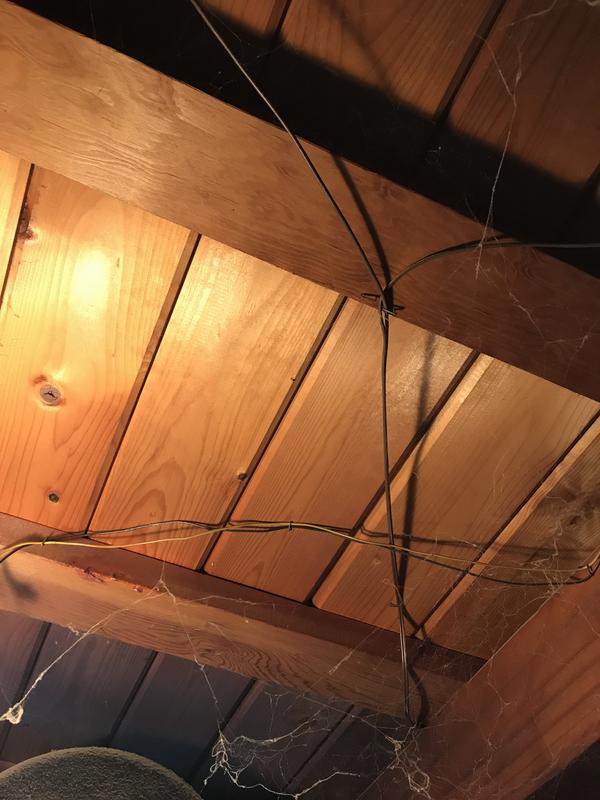 Old wires appear to have been mounted up with a staple gun.  Here it is now 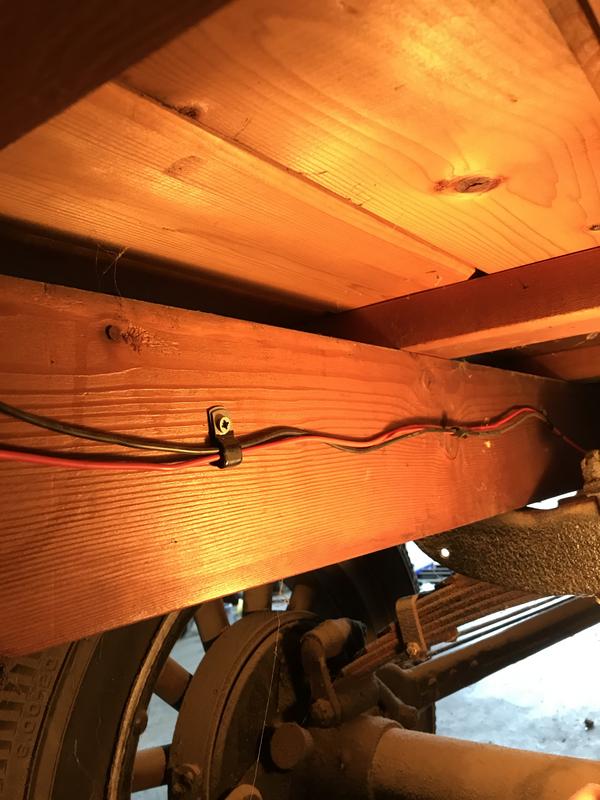  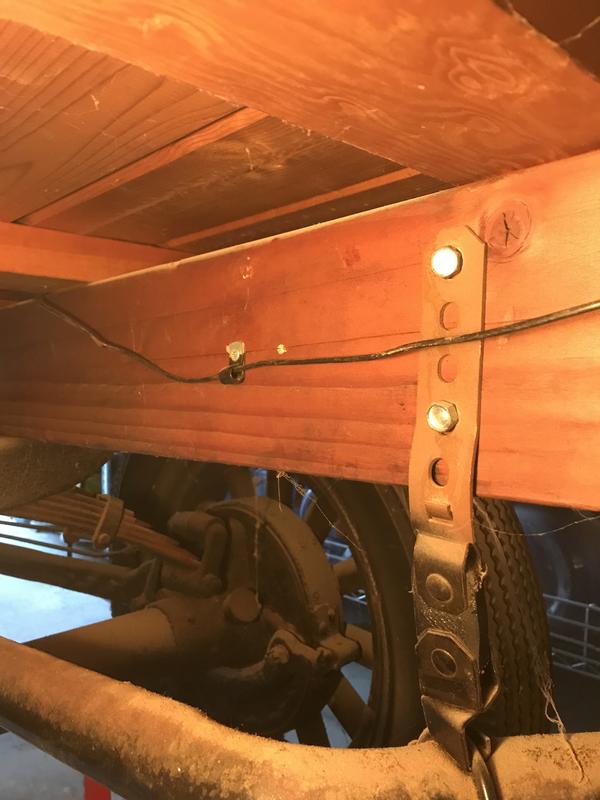  Still to go are the fuel system, cooling system, ignition and fluid changes. |
| Wed Mar 06, 2019 11:48 am |
|
|
Site Admin   Location: Renton, WA Joined: Sun Mar 13, 2011 Posts: 52064 Real Name: Steve |
Wow. Great documentation.
Regarding the master battery disconnect, do you just turn it off every time you turn the car off? That would suck, having to reprogram all of your radio stations every time you drive. _________________ Steve Benefactor Life Member, National Rifle Association Life Member, Second Amendment Foundation Patriot & Life Member, Gun Owners of America Life Member, Citizens Committee for the Right to Keep and Bear Arms Legal Action Supporter, Firearms Policy Coalition Member, NAGR/NFGR Please support the organizations that support all of us. Leave it cleaner than you found it. |
| Thu Mar 07, 2019 5:19 am |
|
|
In Memoriam  Location: Gig Harbor Joined: Fri Mar 18, 2011 Posts: 1829 Real Name: Nick |
MadPick wrote: Wow. Great documentation. Regarding the master battery disconnect, do you jus turn it off every time you turn the car off? That would suck, having to reprogram all of your radio stations every time you drive. Radio in a TT  It's a FORD TT not an Audi TT  Awesome write up! _________________ Armed insurance broker. ObamaCare, life, health, medicare. |
| Thu Mar 07, 2019 7:25 am |
|
|
Site Supporter Location: Tacoma Joined: Sat May 4, 2013 Posts: 6216 |
MadPick wrote: Wow. Great documentation. Regarding the master battery disconnect, do you jus turn it off every time you turn the car off? That would suck, having to reprogram all of your radio stations every time you drive. Radio, climate control, heated seats, cruise control, power windows and nav are all unaffected. |
| Thu Mar 07, 2019 8:49 am |
|
|
Site Supporter Location: Tacoma Joined: Sat May 4, 2013 Posts: 6216 |
Took a peek at the transmission today. Wanted to inspect the bands and also install an oil screen. The transmission bands are accessed via this cover plate
 The inside looks like this 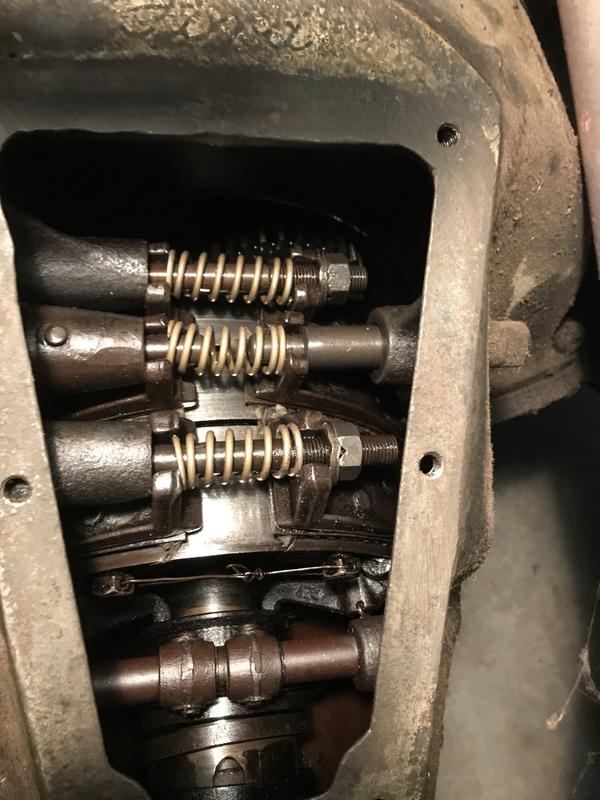 You can see the three bands, from top to bottom: Reverse, Low and Brake. I was looking for the following: Are the bands obviously worn or damaged? Are the bands dragging or binding when the pedals are released? Do the bands grab the drum when the pedals are pushed down? Do I have riveted or demountable bands? From what I could see, all was well. I could see band material present on all three bands. No signs of damage. Bands didn’t drag, and locked up when the pedals were pushed. I will have to get this thing on the road to really see how the bands are working. I figure on relining all the bands with Kevlar at some time. Good news is that I have demountable bands which means I can replace them thru the cover plate and don’t need to remove the hogshead. If any of the bands are too loose, the reverse and brake bands are tightened by adjusting these nuts inward to tighten the bands 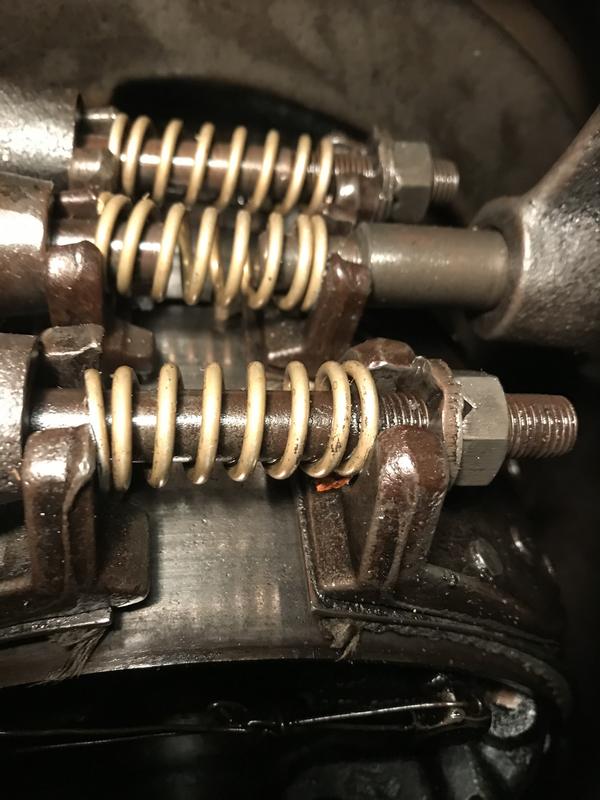 The middle (Low) band is the one most used and needing most frequent adjustment. That band is adjusted from the outside, by loosening this lock nut and turning the shaft clockwise a half turn at a time. I will drive the truck a bit and then adjust if needed. 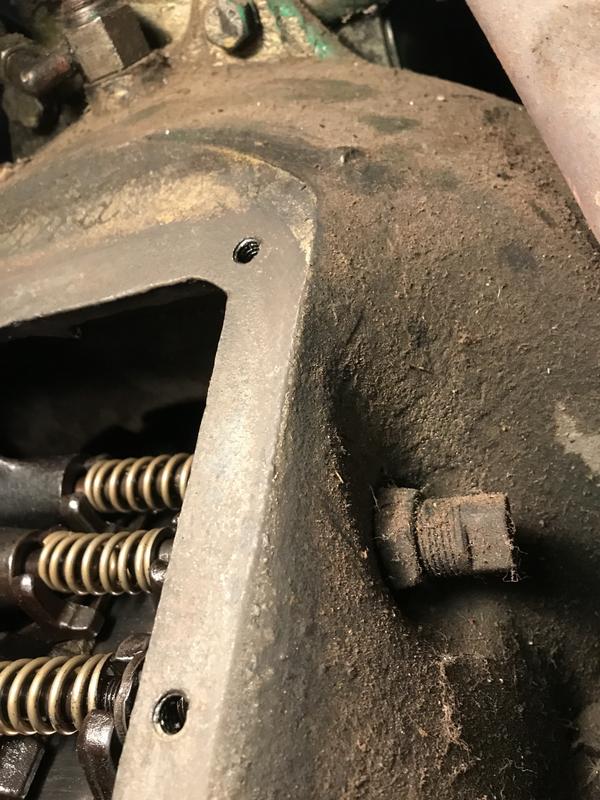 While I was in there I installed an oil screen. Looks like this  These are not factory, but were widely used back in the day. They have a screen and magnet to catch band lint and metal filings, which is a good thing. But the real advantage is the scoop in the front that faces the flywheel. The scoop catches a ton of oil tossed up by the flywheel and shunts if back to bathe the transmission bands. Works great! On a model T, the engine oil and transmission oil are One in the same. 4 quarts of 5W-30 lubricates the engine and transmission. Here is the oil screen installed. You can see the oil-catcher scoop in the front and a big old magnet in the back  The cover was pretty badly out of flat. Body worked it a bit and cleaned it up. 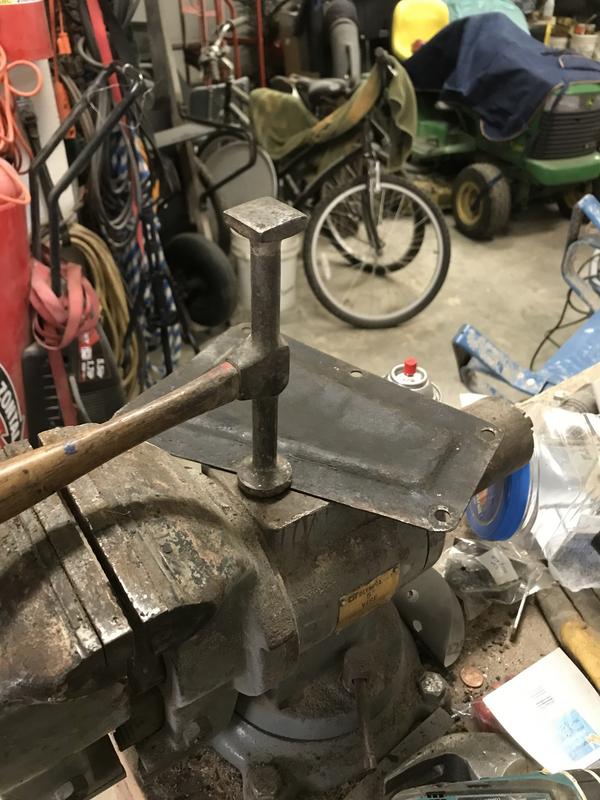 Put the cover back on and called that job done for now. |
| Fri Mar 08, 2019 4:17 pm |
|
|
Site Supporter Location: Tacoma Joined: Sat May 4, 2013 Posts: 6216 |
Held for parts. Waiting on ignition parts, a new gas tank, and on a rebuild of my 90-year old radiator. So I got a couple small jobs done.
First job was the headlights. Here is a diagram of the parts in the headlight assembly  Took a while to figure out how to remove the headlight rim. There is a special tool for this. I don’t have it. In short you push in and turn to the left.  It was harder than it sounds, but the rims came off. During disassembly, I found that a couple of parts were missing - the reflector spring and the gasket between the reflector and lens. In lieu of those parts, some kind of putty was used to hold the lens in place  So I scraped that stuff off and headed up to my model T buddy’s place for the needed parts. Also picked up a new crank pulley. My old one had insufficient crown to keep the fan belt on Here is a new reflector spring and gasket. 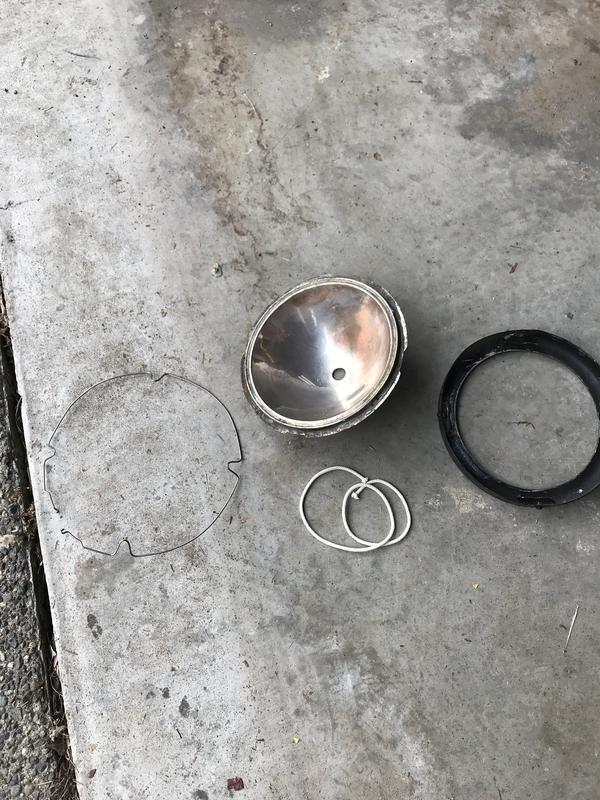 Here is what a model t headlight bulb looks like 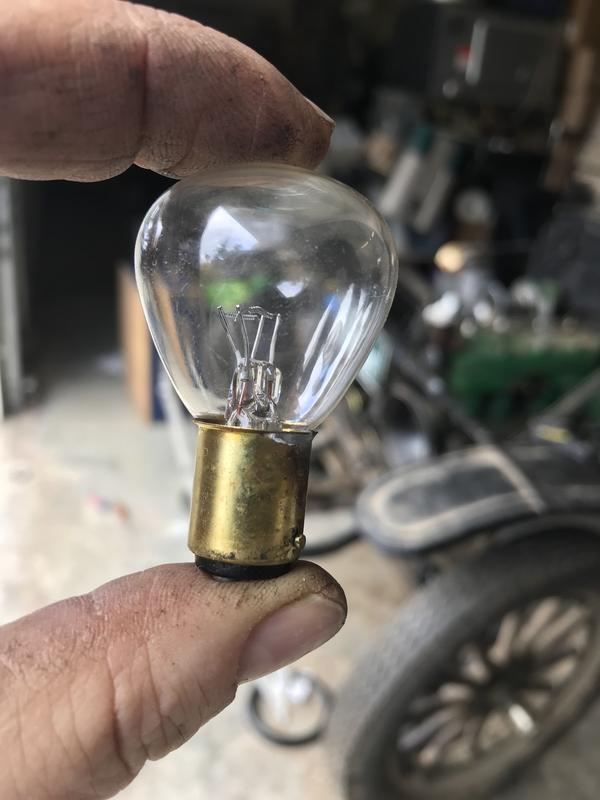 This one did not come out as gracefully  Here is the socket. This is an interesting design. The socket can be moved in and out to focus the beam, via a screw in the back of the headlight bucket. You can see the screw here 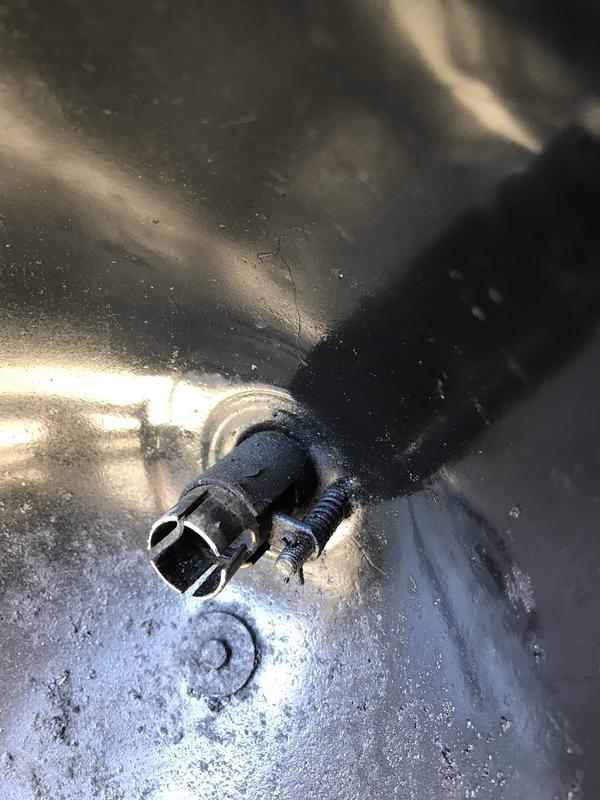 And here on the back side of the headlight bucket, is the screw head where you adjust the beam focus 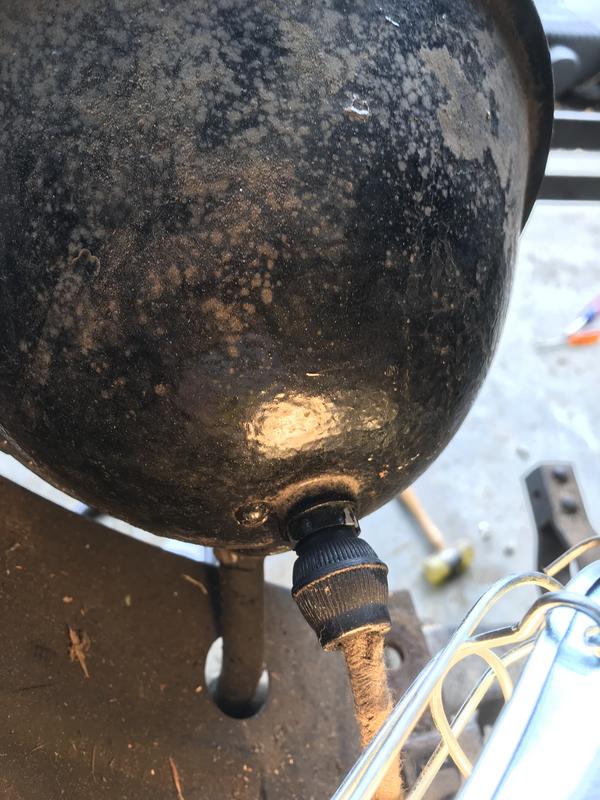 Reflector spring goes in first 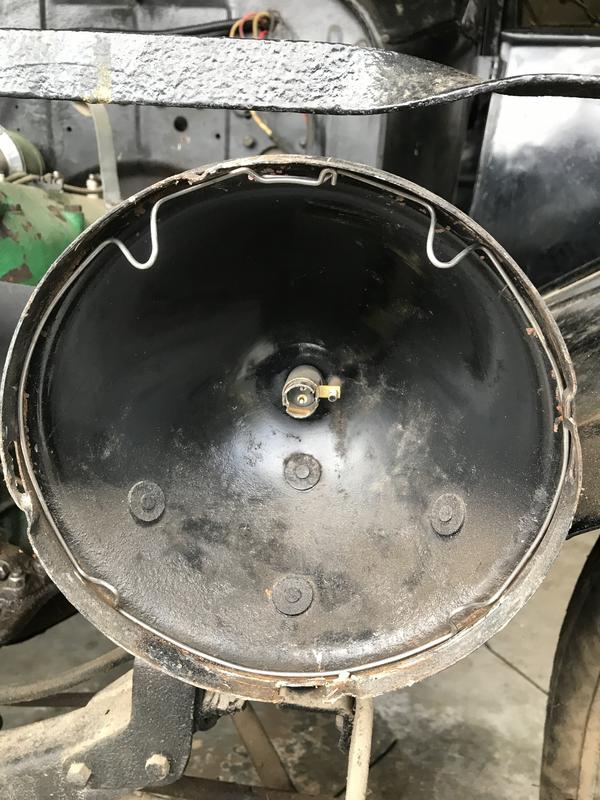 Then the reflector, with the gasket held on with some dabs of rtv silicone 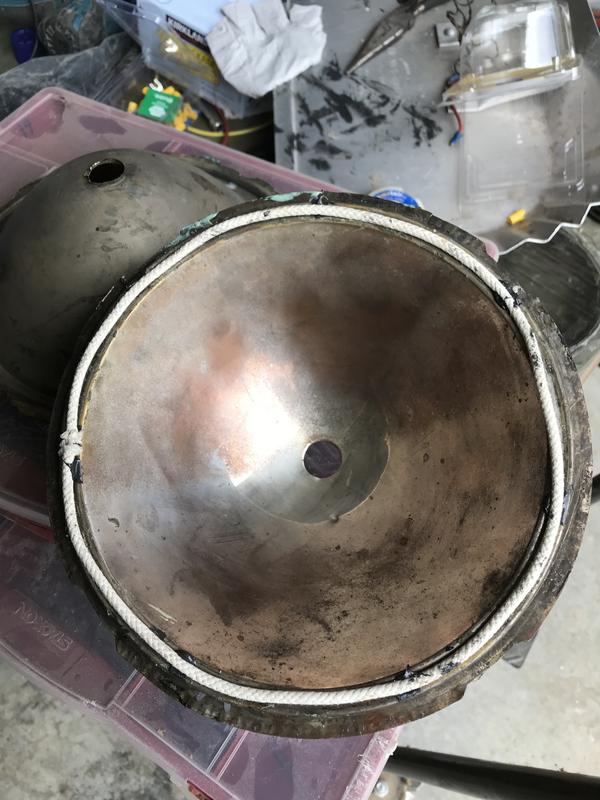 Then comes the bulb, the glass lens and the rim   Since I had the time, I installed the replacement crank pulley. This pulley is attached to the crank and turns the fan and water pump via the fan belt. The pulley went on fine, but the cross pin was peened over and corroded, and wouldn’t go in. Used a grinder and my belt/disc sander to clean up the pin. After that it went in fine  Drove it in with a punch and installed a cotter pin to keep it there 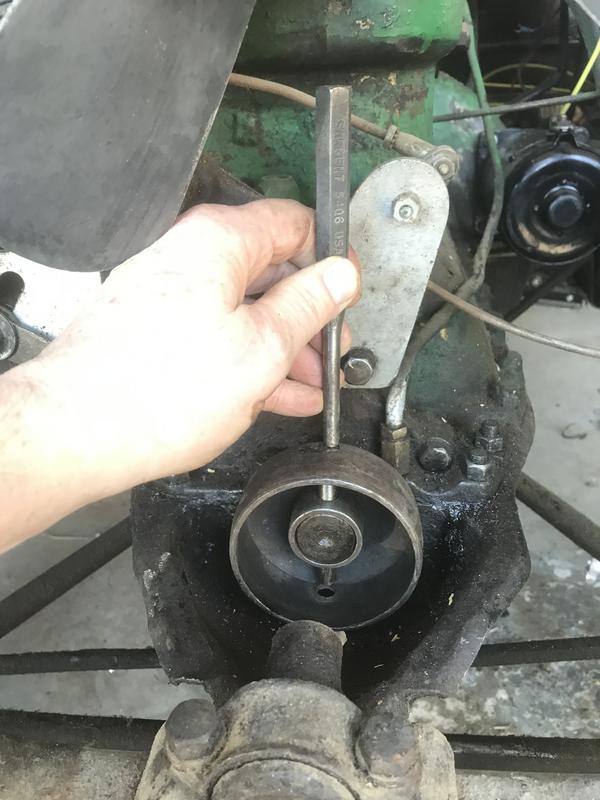 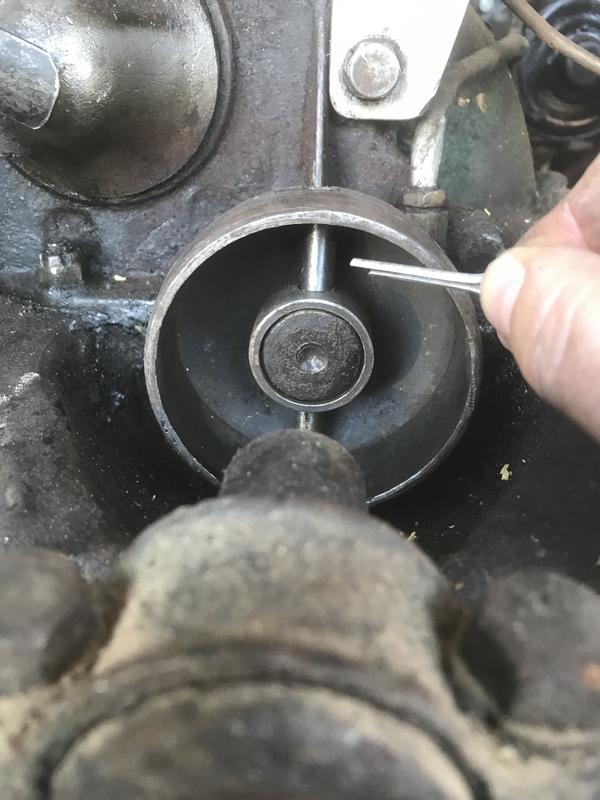 Tomorrow I should have the ignition parts I need, so I will work on that while waiting for the other parts |
| Mon Mar 11, 2019 7:17 pm |
|
|
Site Supporter Location: Tacoma Joined: Sat May 4, 2013 Posts: 6216 |
Got my ignition parts finally. The TT was converted to a 6V distributor system by my dad, and it worked great! Here it is before I started
 So today it was points, plugs, wires, condensor, rotor and cap day. It was a pain to find the right parts as nothing was part marked except the distributor. Here is what I had to go by. 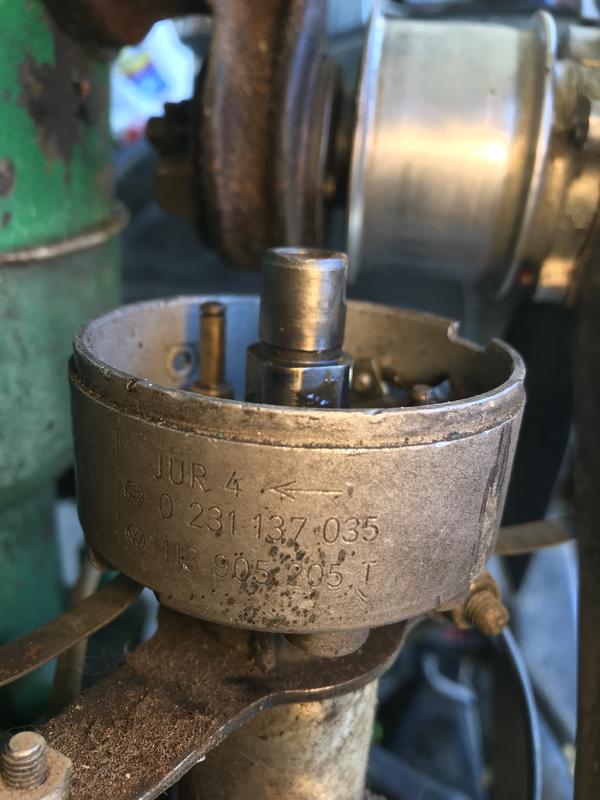 The top number is a Bosch and the bottom is a VW part number. Tried twice at Napa to get the right parts, using these numbers. Parts guy was making wild ass guesses, because twice in a row they shipped in the wrong parts. In desperation I took the ignition points to Autozone. Handed them to the Parts Manager, and she said “What are these called?” O’Reileys at least knew what they were. Advance Auto was likewise clueless but the counter guy referred me to a place down the road called Ovals, who are VW specialists. Their system got a hit on the VW distributor part number, and from there tracked it down to a 1966-67 VW Beetle 1300/1500 cc engine. From there all the Bosch part numbers came up, and they had every one of them in stock! After 2 weeks of looking, Here are the necessary parts 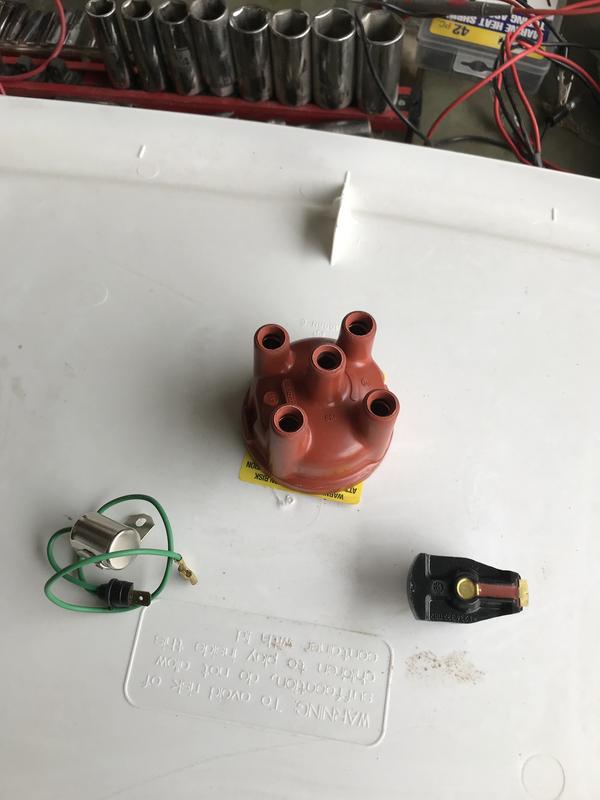  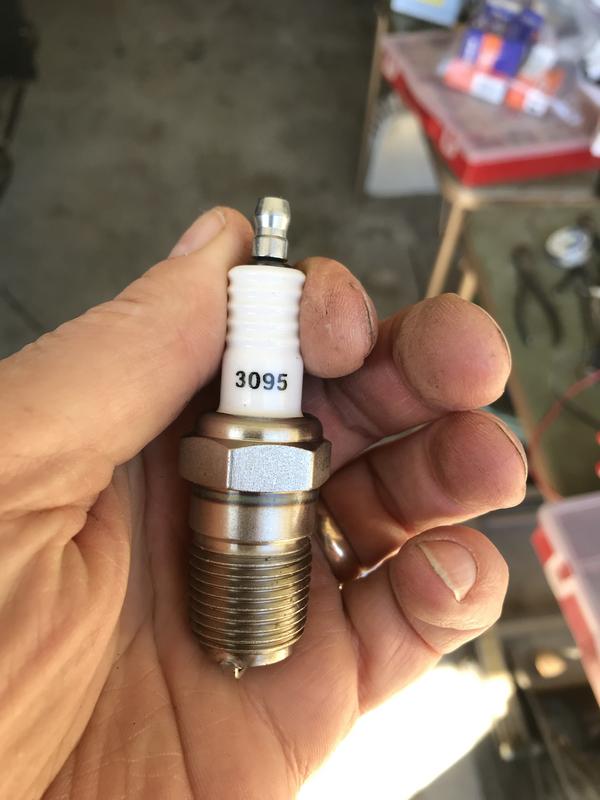 And here are the points installed and ready to be gapped at 0.016”  Followed that with the condensor, rotor and cap. Then it was time for the plugs and plug wires. Here is an old and new plug side by side  Plugs are gapped to Henry Fords spec of “one thin dime”, which works out to 0.032 for an old dime. Found these in my tool box, but didn’t have an 0.032. So I split the difference between 0.030 and 0.035 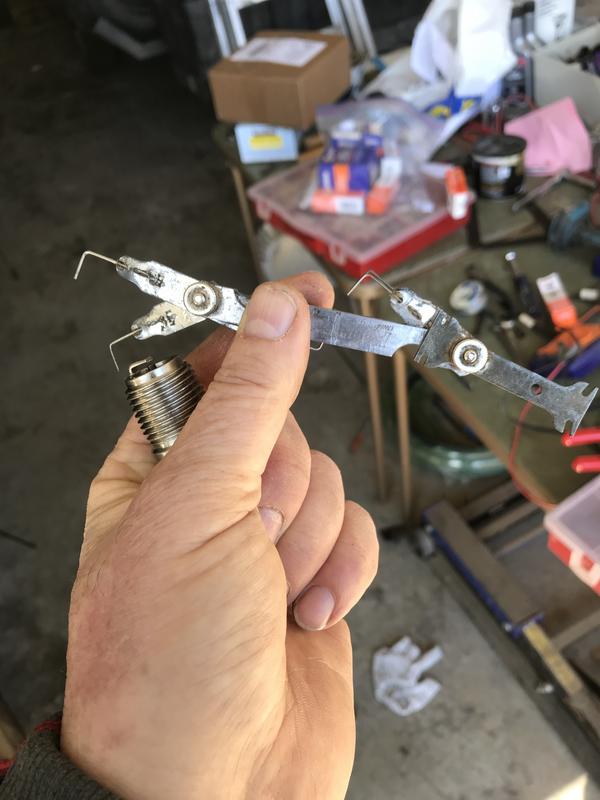 Plug wires are universal fit that have to be terminated on one end 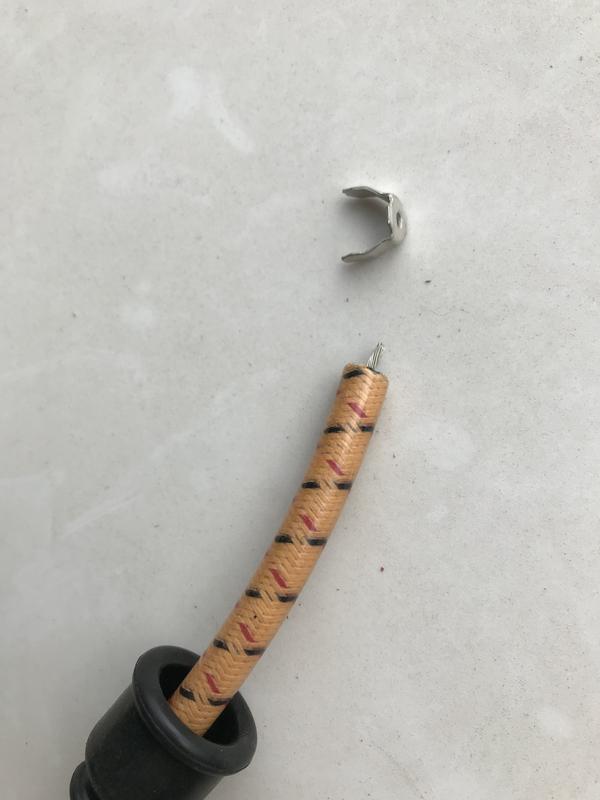 Here it is with the conductor soldered on to the terminal  Here is the system completed 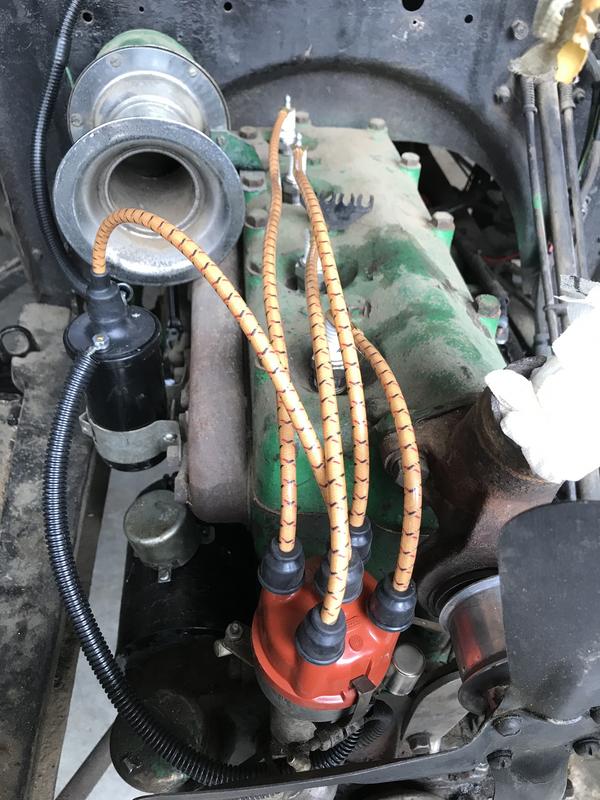 Tomorrow I will install an external oil line to lube the front crank bearing, and will lube the entire chassis. |
| Tue Mar 12, 2019 3:02 pm |
|
|
Site Supporter Location: Tacoma Joined: Sat May 4, 2013 Posts: 6216 |
Only had a couple of hours today, so I set my sights on installing a new external oil line. The model t engine has an internal line that runs oil from the pan to the front crank bearing. This line has been known to plug up, starving the front bearing and seizing the crank. For many years people have been adding an external oil line as a backup. This line picks up oil splash at the magneto post and gravity feeds it to the front bearing through a copper tube. The existing line is that green tube coming out of the magneto post and running down the side of the engine
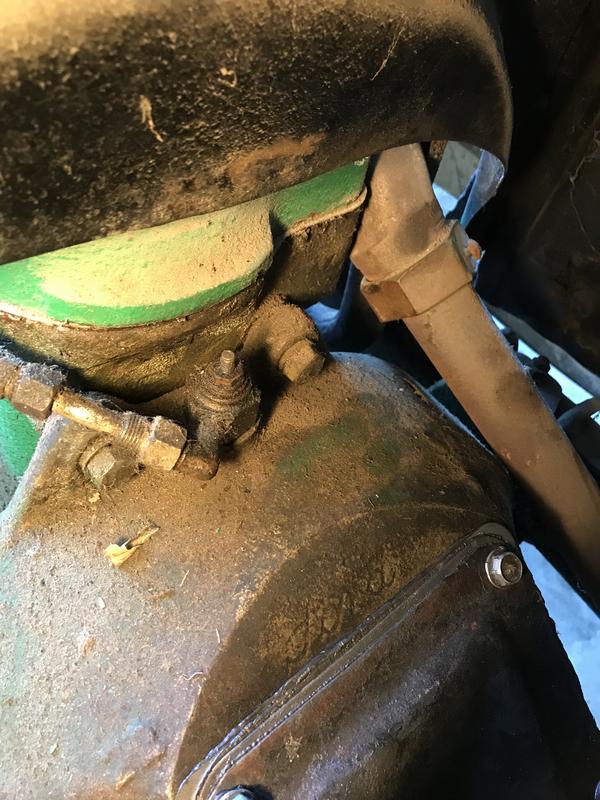  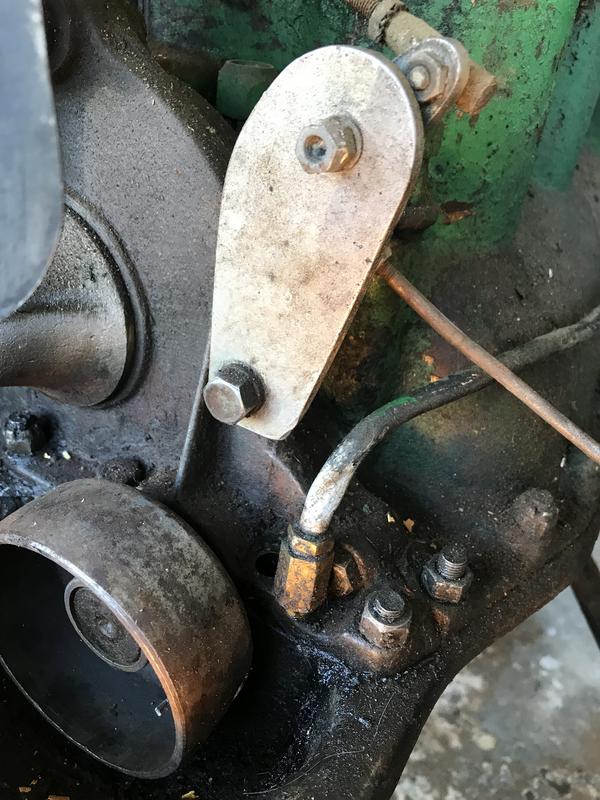 In the last pic you can see that the tube is crushed. In the photos below you can see that the fitting at the crank bearing is broken 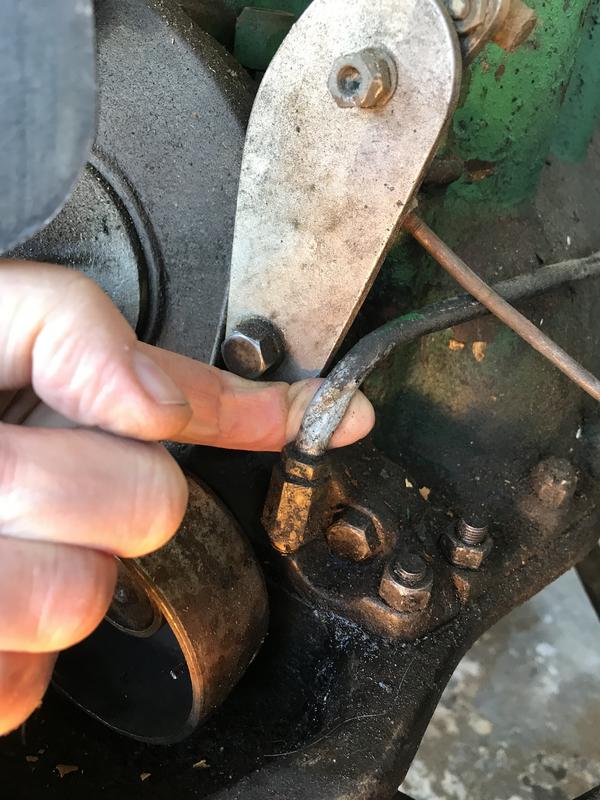 Here is the fitting itself, after a little work with an ez out 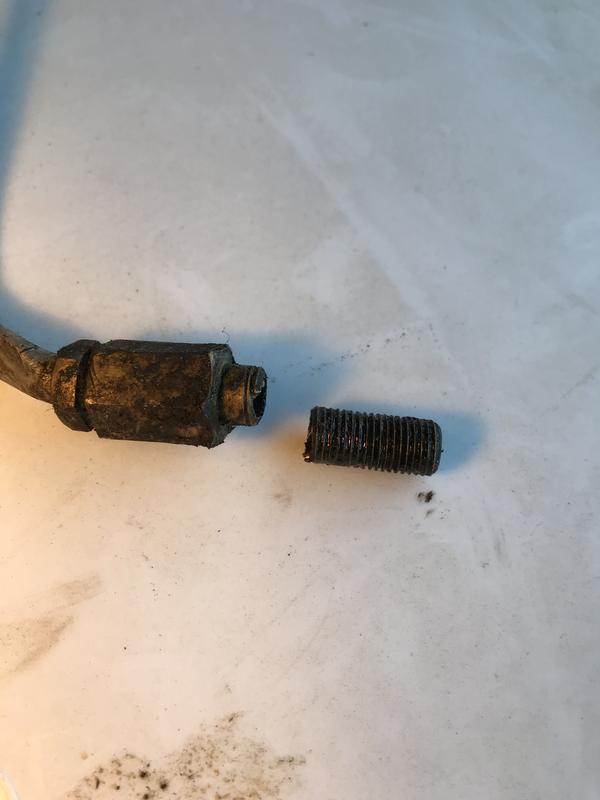 This is the new parts kit  Wrenched off the old Oiler fittings at the mag post  Here are the new mag post and crank fittings 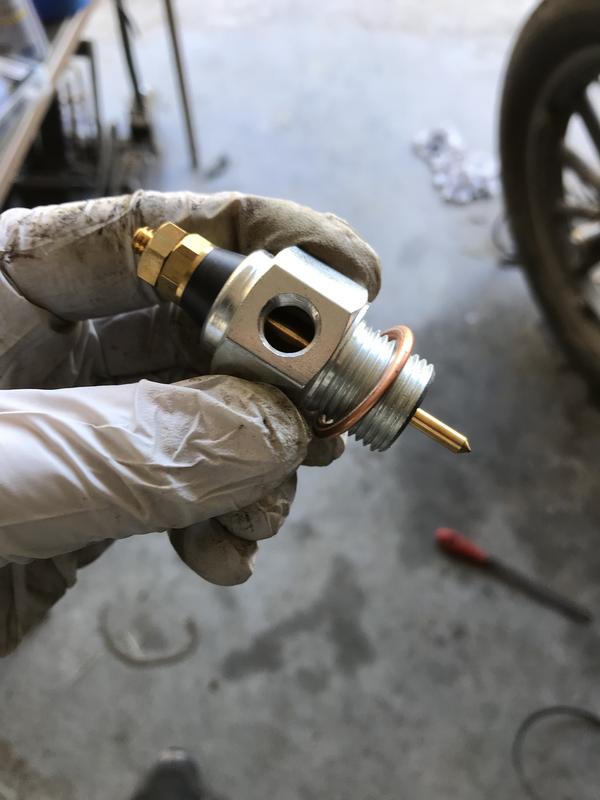 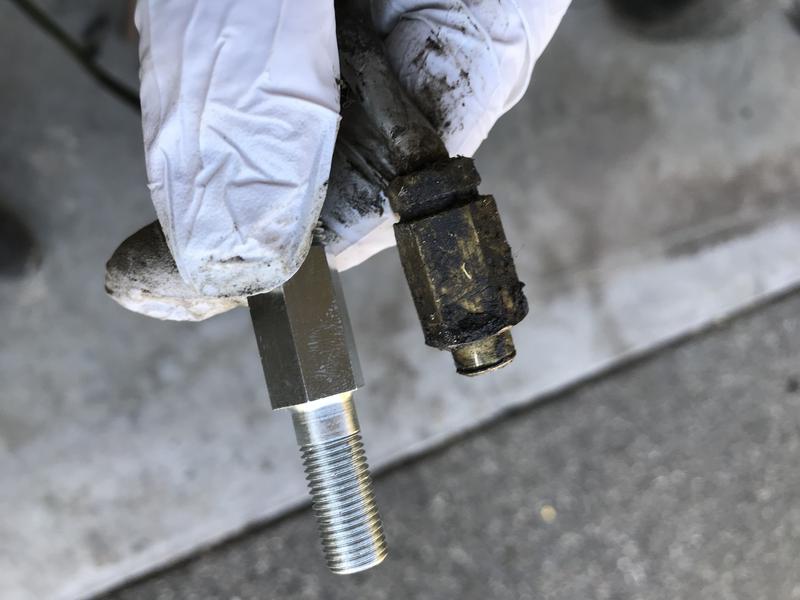 From there is was uncoiling the copper tube and using a tubing bender to get the tube to meet at both ends and not interfere with the throttle and timer linkages. And here it is done  |
| Wed Mar 13, 2019 4:52 pm |
|
|
Site Admin Location: Renton, WA Joined: Sun Mar 13, 2011 Posts: 52064 Real Name: Steve |
 This car's gonna run like a top when you're done, isn't it?! _________________ Steve Benefactor Life Member, National Rifle Association Life Member, Second Amendment Foundation Patriot & Life Member, Gun Owners of America Life Member, Citizens Committee for the Right to Keep and Bear Arms Legal Action Supporter, Firearms Policy Coalition Member, NAGR/NFGR Please support the organizations that support all of us. Leave it cleaner than you found it. |
| Wed Mar 13, 2019 6:53 pm |
|
|
|
Page 4 of 31 |
[ 454 posts ] | Go to page Previous 1, 2, 3, 4, 5, 6, 7 ... 31 Next |
|
All times are UTC - 8 hours |
Who is online |
Users browsing this forum: No registered users and 25 guests |
| You cannot post new topics in this forum You cannot reply to topics in this forum You cannot edit your posts in this forum You cannot delete your posts in this forum You cannot post attachments in this forum |